Ingredients
- 430 grams bread flour
- 365 grams room-temperature filtered water
- 100 grams active Sourdough Starter (See “The Wait & the Rise” story in our spring 2026 Magnolia Journal.)
- 11 grams fine sea salt
Directions
1. In a very large bowl mix together flour and water using a rubber spatula until the flour is incorporated and no dry bits remain. The dough will be a bit shaggy. Cover with a damp towel and let rest 30 to 60 minutes to autolyse.
2. Add and work in the sourdough starter. Cover and let rest for 1 hour to start bulk fermentation. Sprinkle salt over dough; mix into dough with your hands until well mixed.
3. Let rest. After 30 minutes, with dampened hands, stretch and fold dough by grabbing the underside and stretching it up and folding back over on itself. Rotate bowl one-quarter turn and repeat folding process three more times (once for each quarter turn of the bowl). Cover and return the dough to its resting place.
4. Repeat the stretching and folding process three more times, allowing 30-minute intervals of rest. The dough should be soft and elastic. If not, complete a few more sets of stretching and folding, each spaced 30 minutes apart. Cover and let dough rest during the remainder of bulk fermentation. Dough is ready to shape when domed, almost double in size, no longer sticky or tacky, and some air bubbles are visible. In warm rooms, this can take as little as 4 hours. In cooler rooms, it can take up to 10 hours. Watch your dough and not the clock!
5. Gently turn dough out onto a clean surface. Shape into a round, using either your hands or a bench scraper; cover with a towel and let rest 30 minutes.
6. Flip the dough. With lightly floured hands, stretch the bottom of the dough up and over the middle. Stretch the left side up and over two-thirds of the middle and repeat with the right side (to create an envelope shape). Finally, stretch and fold the top down over the middle. Flip the entire bundle so the seam side is down. Lightly flour surface as needed to prevent sticking. Gently cup and rotate the dough by dragging the ball toward you. Use the edge of your hand to tuck edges under dough. Repeat the motion a few more times, creating a taut surface tension on the dough until you have a uniform shape.
7. Gently place dough, seam side up, in a bowl or banneton lined with a flour sack towel. (Use a bench scraper to assist in moving the dough, if needed.) Refrigerate overnight or at least 12 hours.
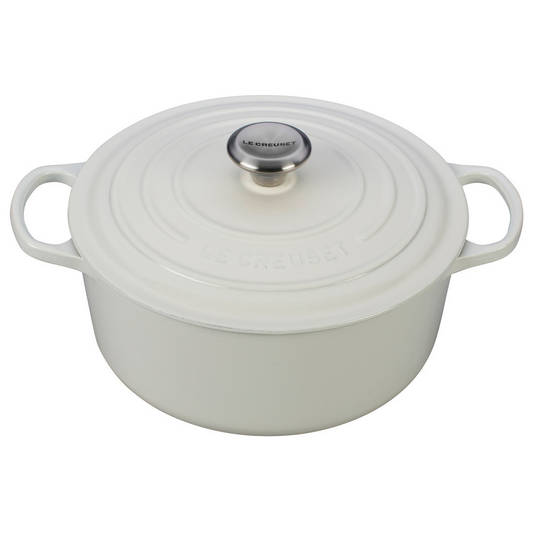
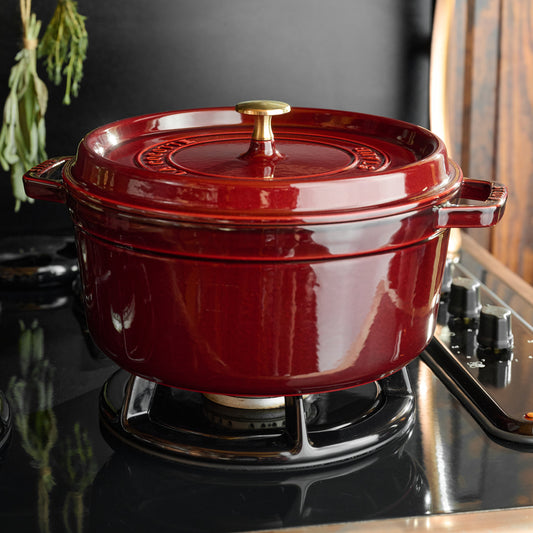
8. After 12 hours, place a 6-qt. Dutch oven (with lid on) on the middle oven rack; preheat at 500°F for 30 minutes.
9. Fold an 18x12-inch piece of parchment paper into thirds lengthwise to create a sling to help you safely transfer dough to and from Dutch oven. Lay the smooth side of the sling on top of the dough in rising bowl or banneton. Place a cutting board or baking sheet on top of the bowl. Quickly invert dough onto the sling; remove bowl. Score top of dough with a razor, bread lame, or sharp knife, cutting about ½ inch deep. Using the sling, carefully transfer dough to Dutch oven; cover with lid.
10. Reduce oven temperature to 480°F; bake 25 minutes. Remove lid. Reduce oven temperature to 450°F. Bake 15 to 20 minutes more or until crust is golden brown, a thermometer inserted in bread registers 208°F, and loaf sounds hollow when tapped. (If temperature hasn’t reached 208°F, bake in additional 5-minute increments.) Using the sling, transfer bread to a wire rack. Let cool 1 hour before slicing.
Adapted from the spring 2026 issue of Magnolia Journal. Photos by Carson Downing. Food styling by Anna Cornett.