Enjoy the final weeks of summer + shop our seasonal collection before we say so long. Find it here.
Set the tone with a fresh coat of paint. Shop Magnolia Home Paint.
This just in: a new season of Magnolia Table with Joanna Gaines. Learn more.

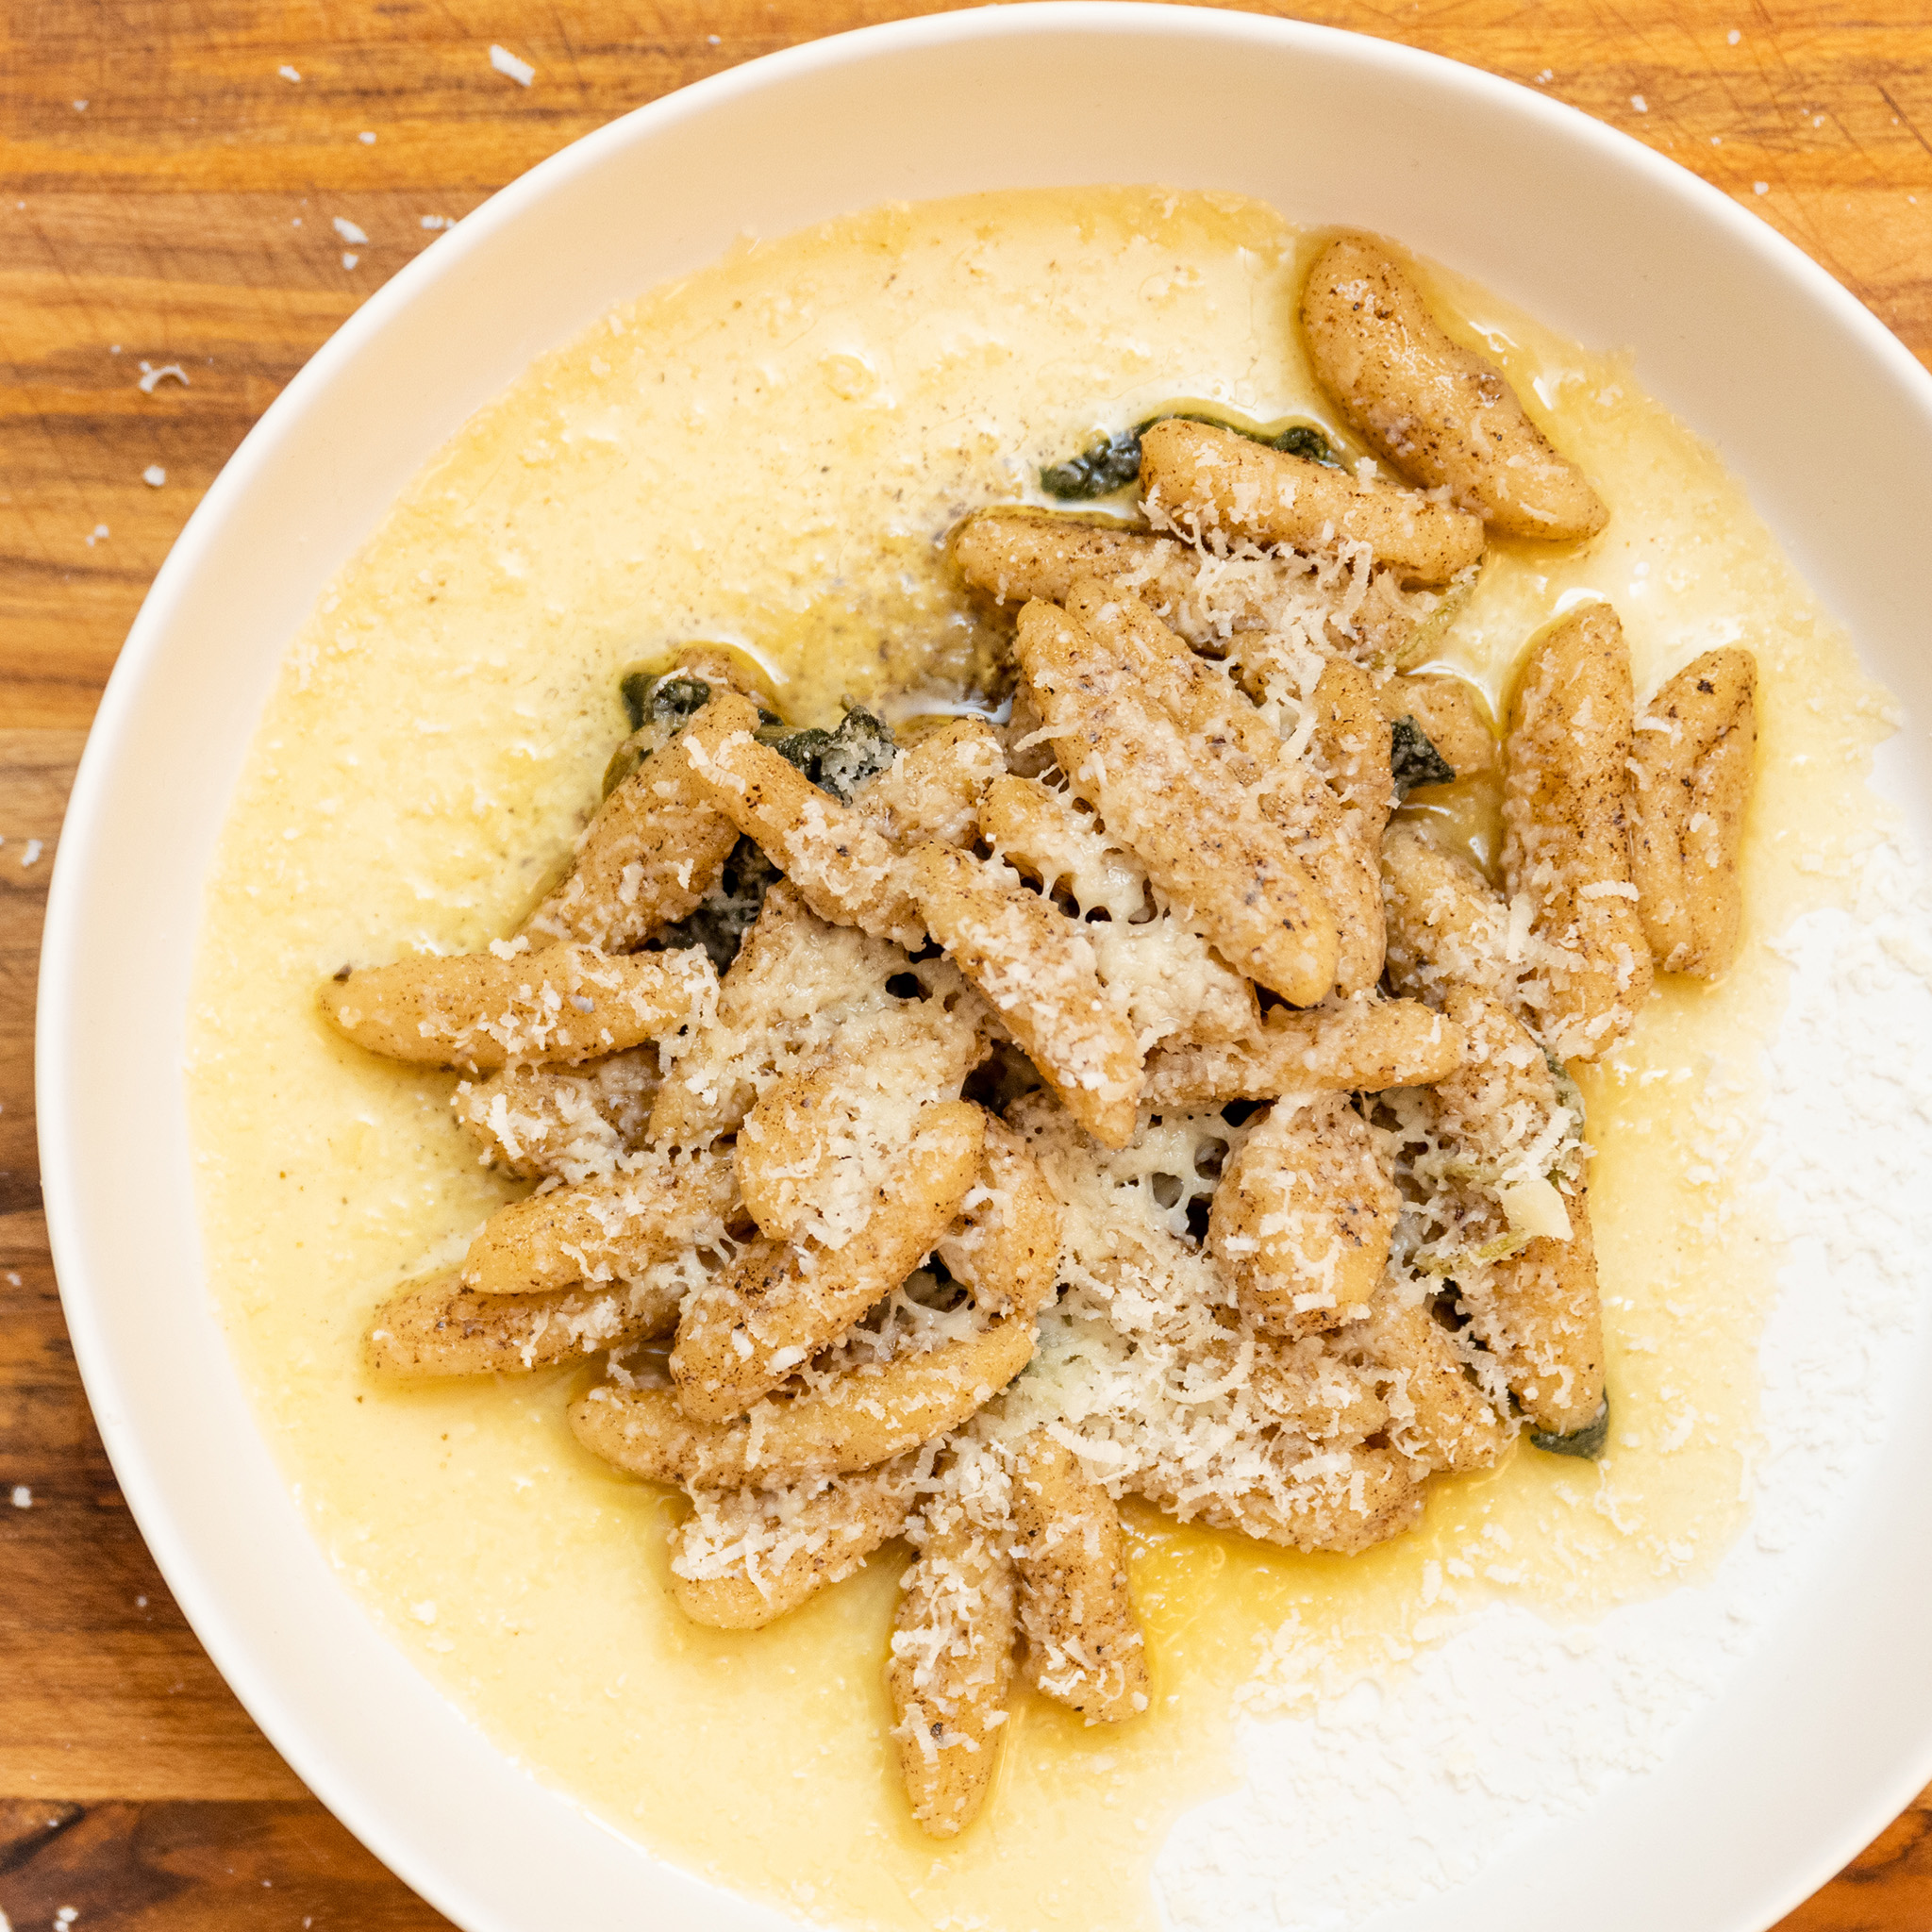
Handmade Cavatelli with Brown Butter and Sage
Total 1 hour and 30 minutes
Active 60 mins
Makes 1 serving
Ingredients
Handmade Fresh Cavatelli Pasta
Directions
- Bring a large pot of salted water to a boil. Add fresh cavatelli pasta and cook, stirring occasionally, until pasta is al dente with no chalky texture in the center, 6 to 8 minutes. See below for handmade pasta recipe.
- Meanwhile, melt butter in a medium skillet over medium heat until foaming. Season with salt and pepper and cook until the butter is golden brown and smells nutty and sweet, about 4 minutes. Remove from heat and drop sage into the butter; it should sizzle and become aromatic almost immediately. Set browned butter aside.
- Use a mesh spider to transfer pasta directly into browned butter mixture and return to medium heat. Cook, tossing, until cavatelli is coated with sauce. Transfer to a warm shallow bowl and grate some Parmigiano over.
- Handmade Fresh Cavatelli Pasta
- Combine flour and semolina in a medium bowl and whisk to combine. Pour flour mixture out onto a wooden board or other clean surface and use the fingertips of one hand to create a wide well in the center (the surface should be completely exposed in the well, and make sure the flour creates a continuous outer ring without gaps). Pour 1 cup lukewarm water into the well. Using a fork and working in a circular motion from the center of the well, start dragging a very small amount of flour into the liquid bit by bit. Continue combining water and flour, patiently and very gradually, until the mixture in the center of the well is the consistency of a thick paste (think Elmer’s glue). Season with the salt. There will still be a border of flour. At this point, you can start nudging larger fluffs of flour into the well with your fingertips, switching to a kneading motion once the dough is stiff enough.
- Gently knead the dough, incorporating any loose flour into the mass, until the dough is holding together in a shaggy, slightly dry and minimally sticky ball. You may have a good amount of flour mixture on the surface, or very little, depending on the humidity in your kitchen and how the dough is behaving that day. Using a bench scraper, scoop any loose flour and small bits of clumpy dough into a fine-mesh sieve. Let the flour pass through the sieve onto the surface and discard any clumps left in the sieve (they will create lumps in the pasta dough, which you don’t want). Reserve the flour mixture in the bowl; you’ll use it for kneading and shaping the dough, and for coating the uncooked cavatelli.
- Knead the dough with the heel of your hand, rotating it 90 degrees each time you fold it onto itself and dusting the surface with reserved flour mixture when needed to prevent stickiness, until it is smooth and shiny, about 10 minutes. Wrap dough in a slightly damp kitchen towel or plastic wrap and let rest 30 minutes at room temperature to allow gluten to relax. Or, refrigerate the dough for up to 2 days.
- Cut dough into 8 pieces. Lightly dust a rimmed baking sheet with reserved flour mixture. Working with one piece at a time and keeping the remaining dough covered, use the first four fingers of both hands to roll out the dough to a long rope, about 1/2 inch thick. Cut crosswise into 1/4-inch pieces. Using the bench scraper, a butter knife, or the first three fingertips of one hand, press down on a piece of dough to flatten, then drag it towards you while applying pressure so that it curls onto itself and creates an oblong shell shape. Lightly dust surface with reserved flour, as needed, but leave some stick—the tension between the dough and the surface will help it curl rather than just sliding around.
- Transfer cavatelli to a prepared baking sheet as you go. Continue until all of the dough has been shaped. Cook immediately, or freeze dough on sheet until firm, then transfer to a freezer bag and keep frozen until ready to use, up to 6 months.