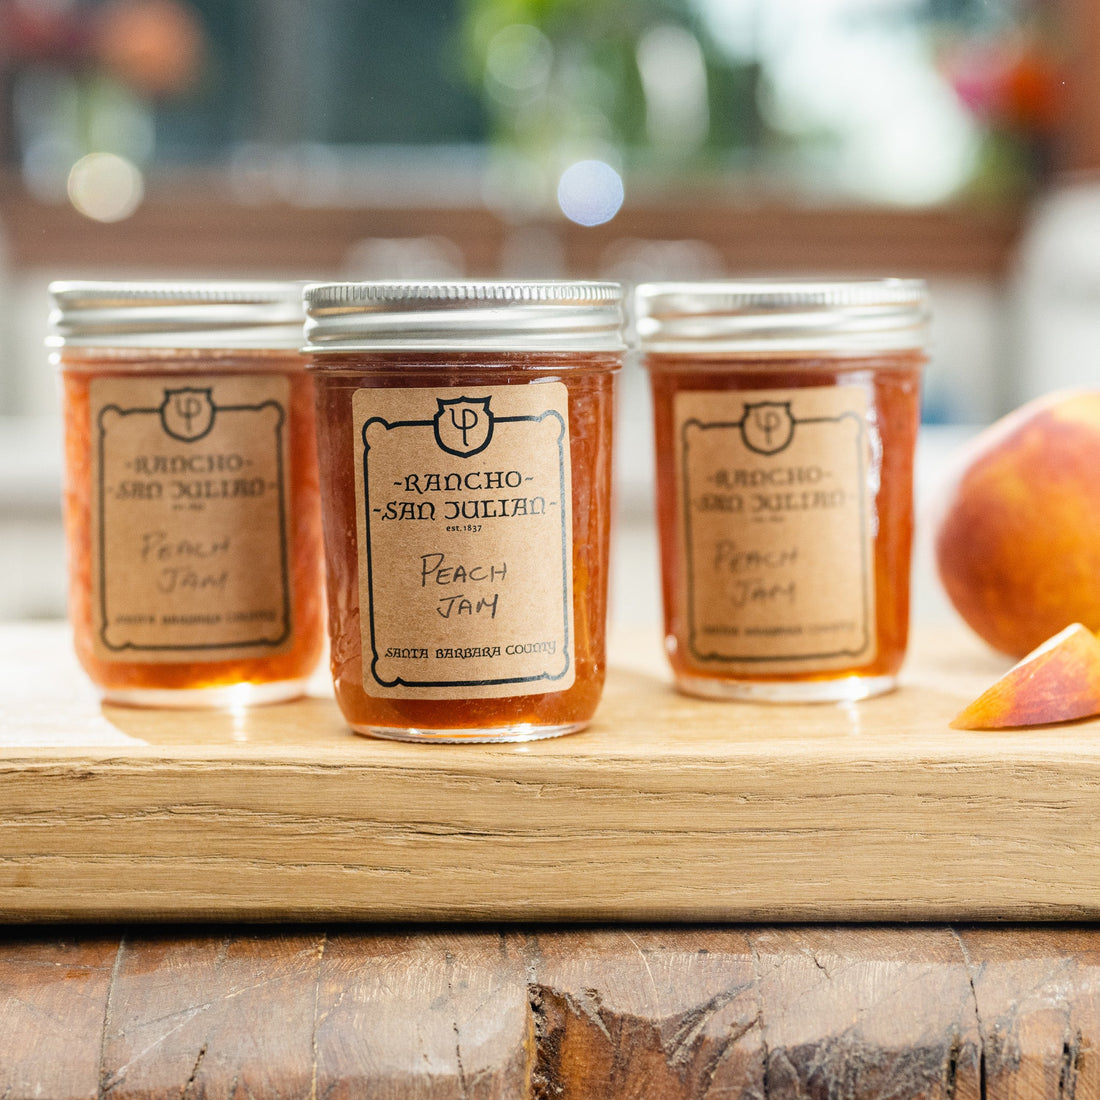
Ingredients
- 6 heaping cups chopped pitted peaches (2 to 2 1/4 pounds peaches, left unpeeled; see Cook's Note)
- 1/4 cup fresh lemon juice (1 to 2 lemons), reserving the lemon rinds (see Cook's Note)
- 5 cups sugar
Directions
- Prepare the jars: Wash four 8-ounce canning jars with bands and new lids in hot, soapy water, then rinse well. Place the rack in the canning pot and begin filling the pot with warm tap water; while doing so, fill each of the jars with water and place them in the pot. Add enough water to the pot so the jars are covered by 2 inches. Add the bands and lids to help ensure a good seal. Cover the pot and bring the water to a boil, then turn off the heat. Keep the pot covered until ready to fill the jars.
- Prepare the jam: Add the chopped peaches to a large, heavy duty cooking pot. Immediately toss the fruit in the lemon juice. Add the sugar and toss the fruit with a wooden spoon to coat each piece. Set aside for 10 minutes to let the juice begin to seep out of the fruit.
- Put the jam pot over medium-high heat and bring to a simmer, stirring constantly with a wooden spoon to keep the sugar from burning. As the jam cooks, make sure to stir every part of the pot, including the sides and across the whole bottom; it will become juicier and easier to stir as the fruit breaks down. Add the reserved lemon rinds to the pot. Use a large metal spoon to skim foam off the top of the jam. Once the jam is past the foam stage and fully skimmed, continue to cook the jam until it begins to take on a shiny, amber look, about 10 minutes more. Pull out the lemon rinds. Turn off the heat. Use a potato masher to smash the fruit into a pulp. Turn the heat back on to medium, and stir often to keep jam from sticking. If the jam begins to stick, turn off your heat for 1 minute and use the spoon to scrape the jam off the bottom of the pot.
- There are two ways to check the texture of the jam. First, pull the wooden spoon out of the pot and watch to see how the jam slides off the spoon and into the pot. The jam is thick enough when it falls off the spoon in sheets. Second, keep a small plate in the freezer for 5 minutes. Take it out and put a small spoonful of jam onto the plate. Tilt the plate sideways and watch how the jam moves. If it is runny, it is not ready, and if it sticks to one spot and wrinkles as it falls, it is thick enough.
- Fill the jars: It is important to handle the jars carefully and to work with one at a time, keeping the pot covered. Both the jar and the product should be hot. Lay a clean kitchen cloth down on the flat surface where you will be packing the jars. Use a jar lifter to pull the first jar and pour out the water into the pot. Insert a canning funnel into the jar mouth. Ladle the jam into the jar, leaving 1/4 inch of headspace. Run a wooden skewer around the inside of the jar to remove air bubbles. Wipe the rim of the jar with a clean, wet cloth to ensure that nothing will interfere with the seal. Using a lid wand, lift a hot lid and band out of the water bath. Place the lid on the jar. Screw the band over the lid and tighten it until you meet with some resistance. Do not overtighten. Lift the full, closed jar back onto the rack inside the canning pot. Repeat to fill the remaining jars.
- Process the jars: Cover the canning pot and bring the water to a boil, then set a timer and process the jars for 15 minutes. Turn off the heat. Carefully remove the lid, tilting it away from yourself to avoid the steam. Use the jar lifter to remove the jars to a cooling rack or a flat surface lined with a cloth, leaving a little bit of space between the jars.
- Let sit undisturbed for 24 hours. You’ll know the lids are properly sealed by the popping noise they make; this may happen right away or much later. Also, the dimple on the top of the lid should be flat and the lid concave. Write the date on the jar lid and keep in a cool, dark place for up to 1 year. Any jars that are not properly sealed should be refrigerated and used within 1 month.


