Ingredients
Pâte à Choux (Cream Puff Dough)
- 1/2 cup unsalted butter, cut into small pieces
- 1/2 cup whole milk
- 1/2 cup water
- 1 tablespoon sugar
- 1/2 teaspoon kosher salt
- 1 cup (130 grams) all-purpose flour
- 4 large eggs, at room temperature
- Egg wash (1 large egg lightly beaten with a pinch of kosher salt and 1 tablespoon water)
Chocolate Pastry Cream
- 6 large egg yolks
- 3 tablespoons cornstarch
- 2 tablespoons cocoa powder
- 1/2 cup (100 grams) sugar
- 2 cups whole milk
- 1/4 cup unsalted butter
- 6 ounces bittersweet chocolate
- 1 teaspoon pure vanilla extract
- Pinch of kosher salt
- 1 1/2 cups heavy whipping cream, whipped to stiff peaks
Caramel
- 3 cups (600 grams) sugar
- 1/2 cup water
- 2 tablespoons corn syrup
Optional Decorations
- Edible gold leaf
- Sparklers
Directions
- Make the pâte à choux: Preheat the oven to 375°F. Line 2 baking sheets with parchment paper or a non-stick silicone mat.
- In a medium saucepan, bring the butter, milk, water, sugar, and salt to a rapid simmer.
- Dump the flour in all at once. Stir with a wooden spoon over low heat until the dough comes together as a smooth ball and the bottom of your pot has a skim of dough stuck to it.
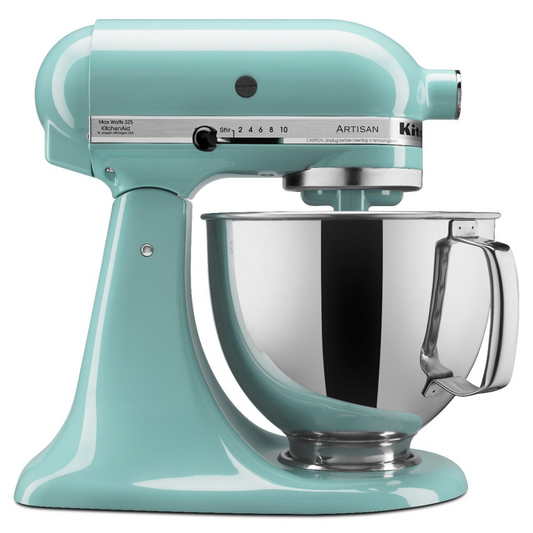
- Remove the dough from the pot and place in the bowl of a stand mixer fitted with the paddle attachment. I love beater blade paddles with the rubber sides so you don’t have to scrape down the bowl. If you don’t have one, then scrape down the bowl with a rubber spatula after each egg.
- Add the eggs one at a time, mixing well after each, until the dough comes together in a smooth paste. It will be thick enough to hold its shape, but thin enough to pipe easily.
- Fit a pastry bag with a large round tip and pipe the dough into balls about the size of a quarter and 1/4-inch tall onto the prepared baking sheets. Holding the bag straight up and down, 1/4 inch from the parchment, squeeze and then release the pressure when they’re the right size. Swipe the tip as you pull away to prevent a point on top. You should end up with about 5 dozen cream puffs.
- Use a pastry brush to coat each puff with the egg wash. Bake for about 15 minutes, until they are puffy but have little color. If baking 2 trays at once, quickly rotate the trays from top to bottom and back to front. They may deflate a touch, but don’t worry, they will puff again as they continue to bake. Bake for an additional 10 to 15 minutes or just until they start to turn golden brown. Open one of them and make sure it is not too wet inside. If so, continue to bake.
- Remove from the oven and allow to cool completely before filling. The cream puffs can be made ahead and frozen for up to 2 weeks in an airtight container.
- Make the chocolate pastry cream: Whisk together the egg yolks, cornstarch, cocoa powder, and 1/4 cup of the sugar. Mix into a smooth paste.
- In a medium saucepan, bring the milk, remaining sugar, and butter to a simmer.
- Slowly, and in small amounts, whisk the hot milk mixture into the egg mixture. Once the egg mixture is warm to the touch, add to the remaining milk in the pot.
- Return the custard to the stove and bring to a boil, then cook, whisking continuously, for 3 minutes to cook off the starch. Turn the heat off. Stir in the bittersweet chocolate, vanilla extract, and salt. Let sit for 2 minutes and then whisk until smooth.
- Pour into a shallow bowl or storage container, cover with plastic wrap, pressing it directly on the surface of the pastry cream, and set in an ice bath until completely cool, about 1 hour. The pastry cream can be made ahead and kept refrigerated for up to 1 day.
- Once the pastry cream is chilled, stir until smooth, then fold in the whipped cream.
- Fill the cream puffs: Cut a small hole in the bottom of each cream puff with a paring knife.
- Fill a pastry bag fitted with a Bismarck tip with the chocolate pastry cream. Fill each cream puff with the pastry cream, making sure to get as much in the cream puff as possible.
- Once they are all filled, chill for 1 hour.
- Make the caramel: In a small saucepan, combine the sugar, water, and corn syrup and bring to a boil, without stirring. Once the mixture starts to turn amber, then you can stir. Cook for about 10 minutes, allowing it to darken and thicken. When it starts to smoke, plunge the pan into an ice bath to stop the caramel from burning.
- Assemble and decorate the croquembouche: Dip the top of each cream puff into the caramel. Be very careful, the caramel is hot and there is nothing worse than a caramel burn. Use tongs if you need to! If your caramel starts to seize as you are working, slowly melt it again over low heat.
- Lay the cream puffs on a tray to set up. You can dip the cream puffs hours ahead or even the day before and store them in the refrigerator. The caramel will get a little tacky, but it is nice not to have to do everything the day you serve.
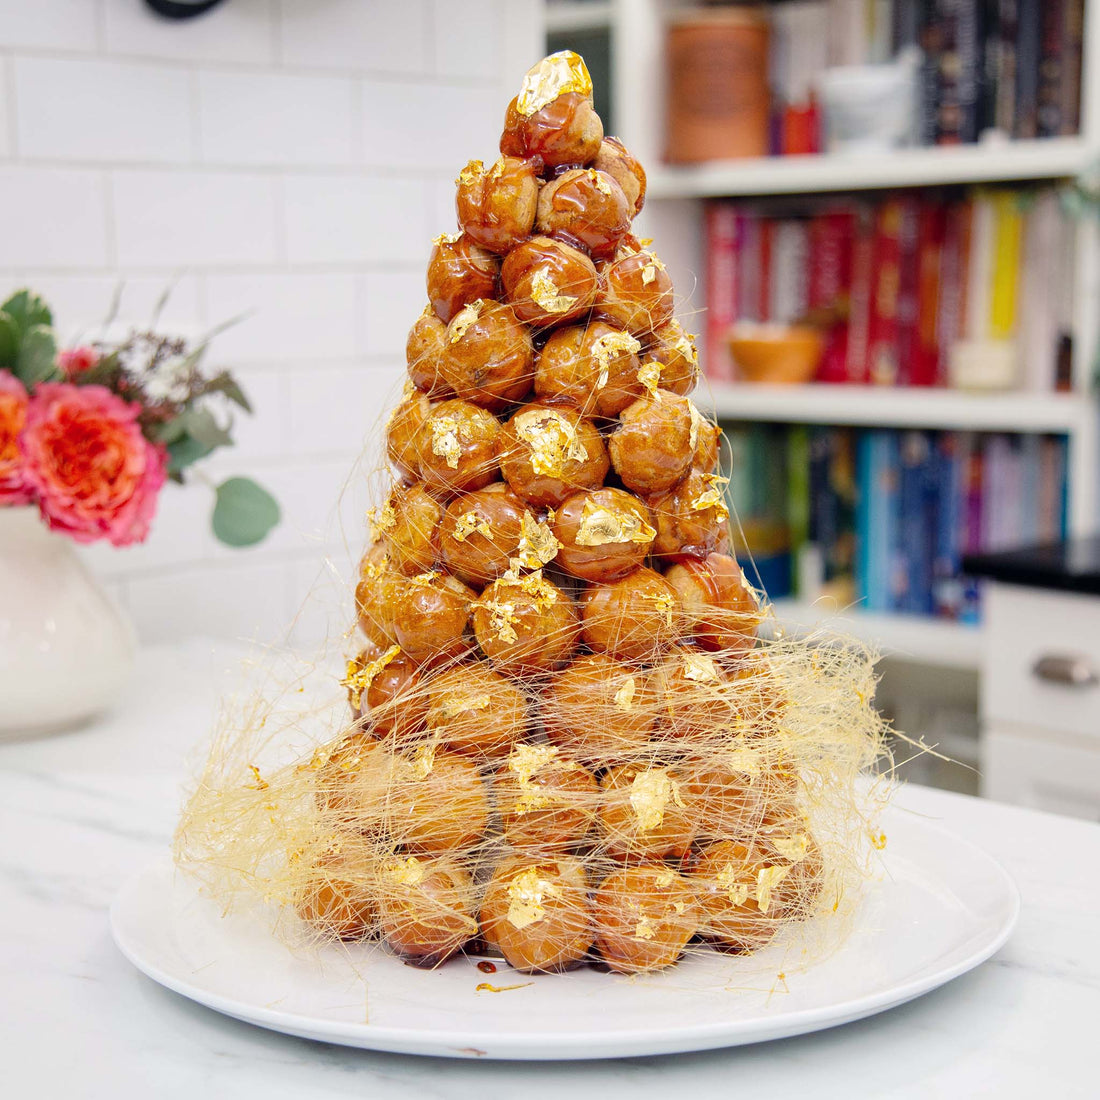
- Get your croquembouche form ready and begin to build the tower. I used a 12-inch-tall form, but you can make your own pyramid with construction paper covered in parchment paper. Dip the side of the cream puffs in the caramel and then stack them with the bottoms leaning on the croquembouche form. The caramel will glue the whole thing together. Continue to stack until you’ve reached the top! Decorate with bits of edible gold leaf, if using.
- To make the optional spun sugar, cut the looped ends of a handheld whisk with wire cutters so you have a tool with lots of tines. You can also use a fork, but it will just take longer. Dip the ends of the whisk into the caramel and wave it back and forth over the croquembouche, allowing long, thin strands of caramel to fall. Next, lay out a layer of parchment paper on your counter, dip the ends of the whisk into the caramel and wave it back and forth to create a pile of spun sugar to wrap around the base of the croquembouche, like a spun sugar nest. If desired, top with a few sparklers and light just before serving.


