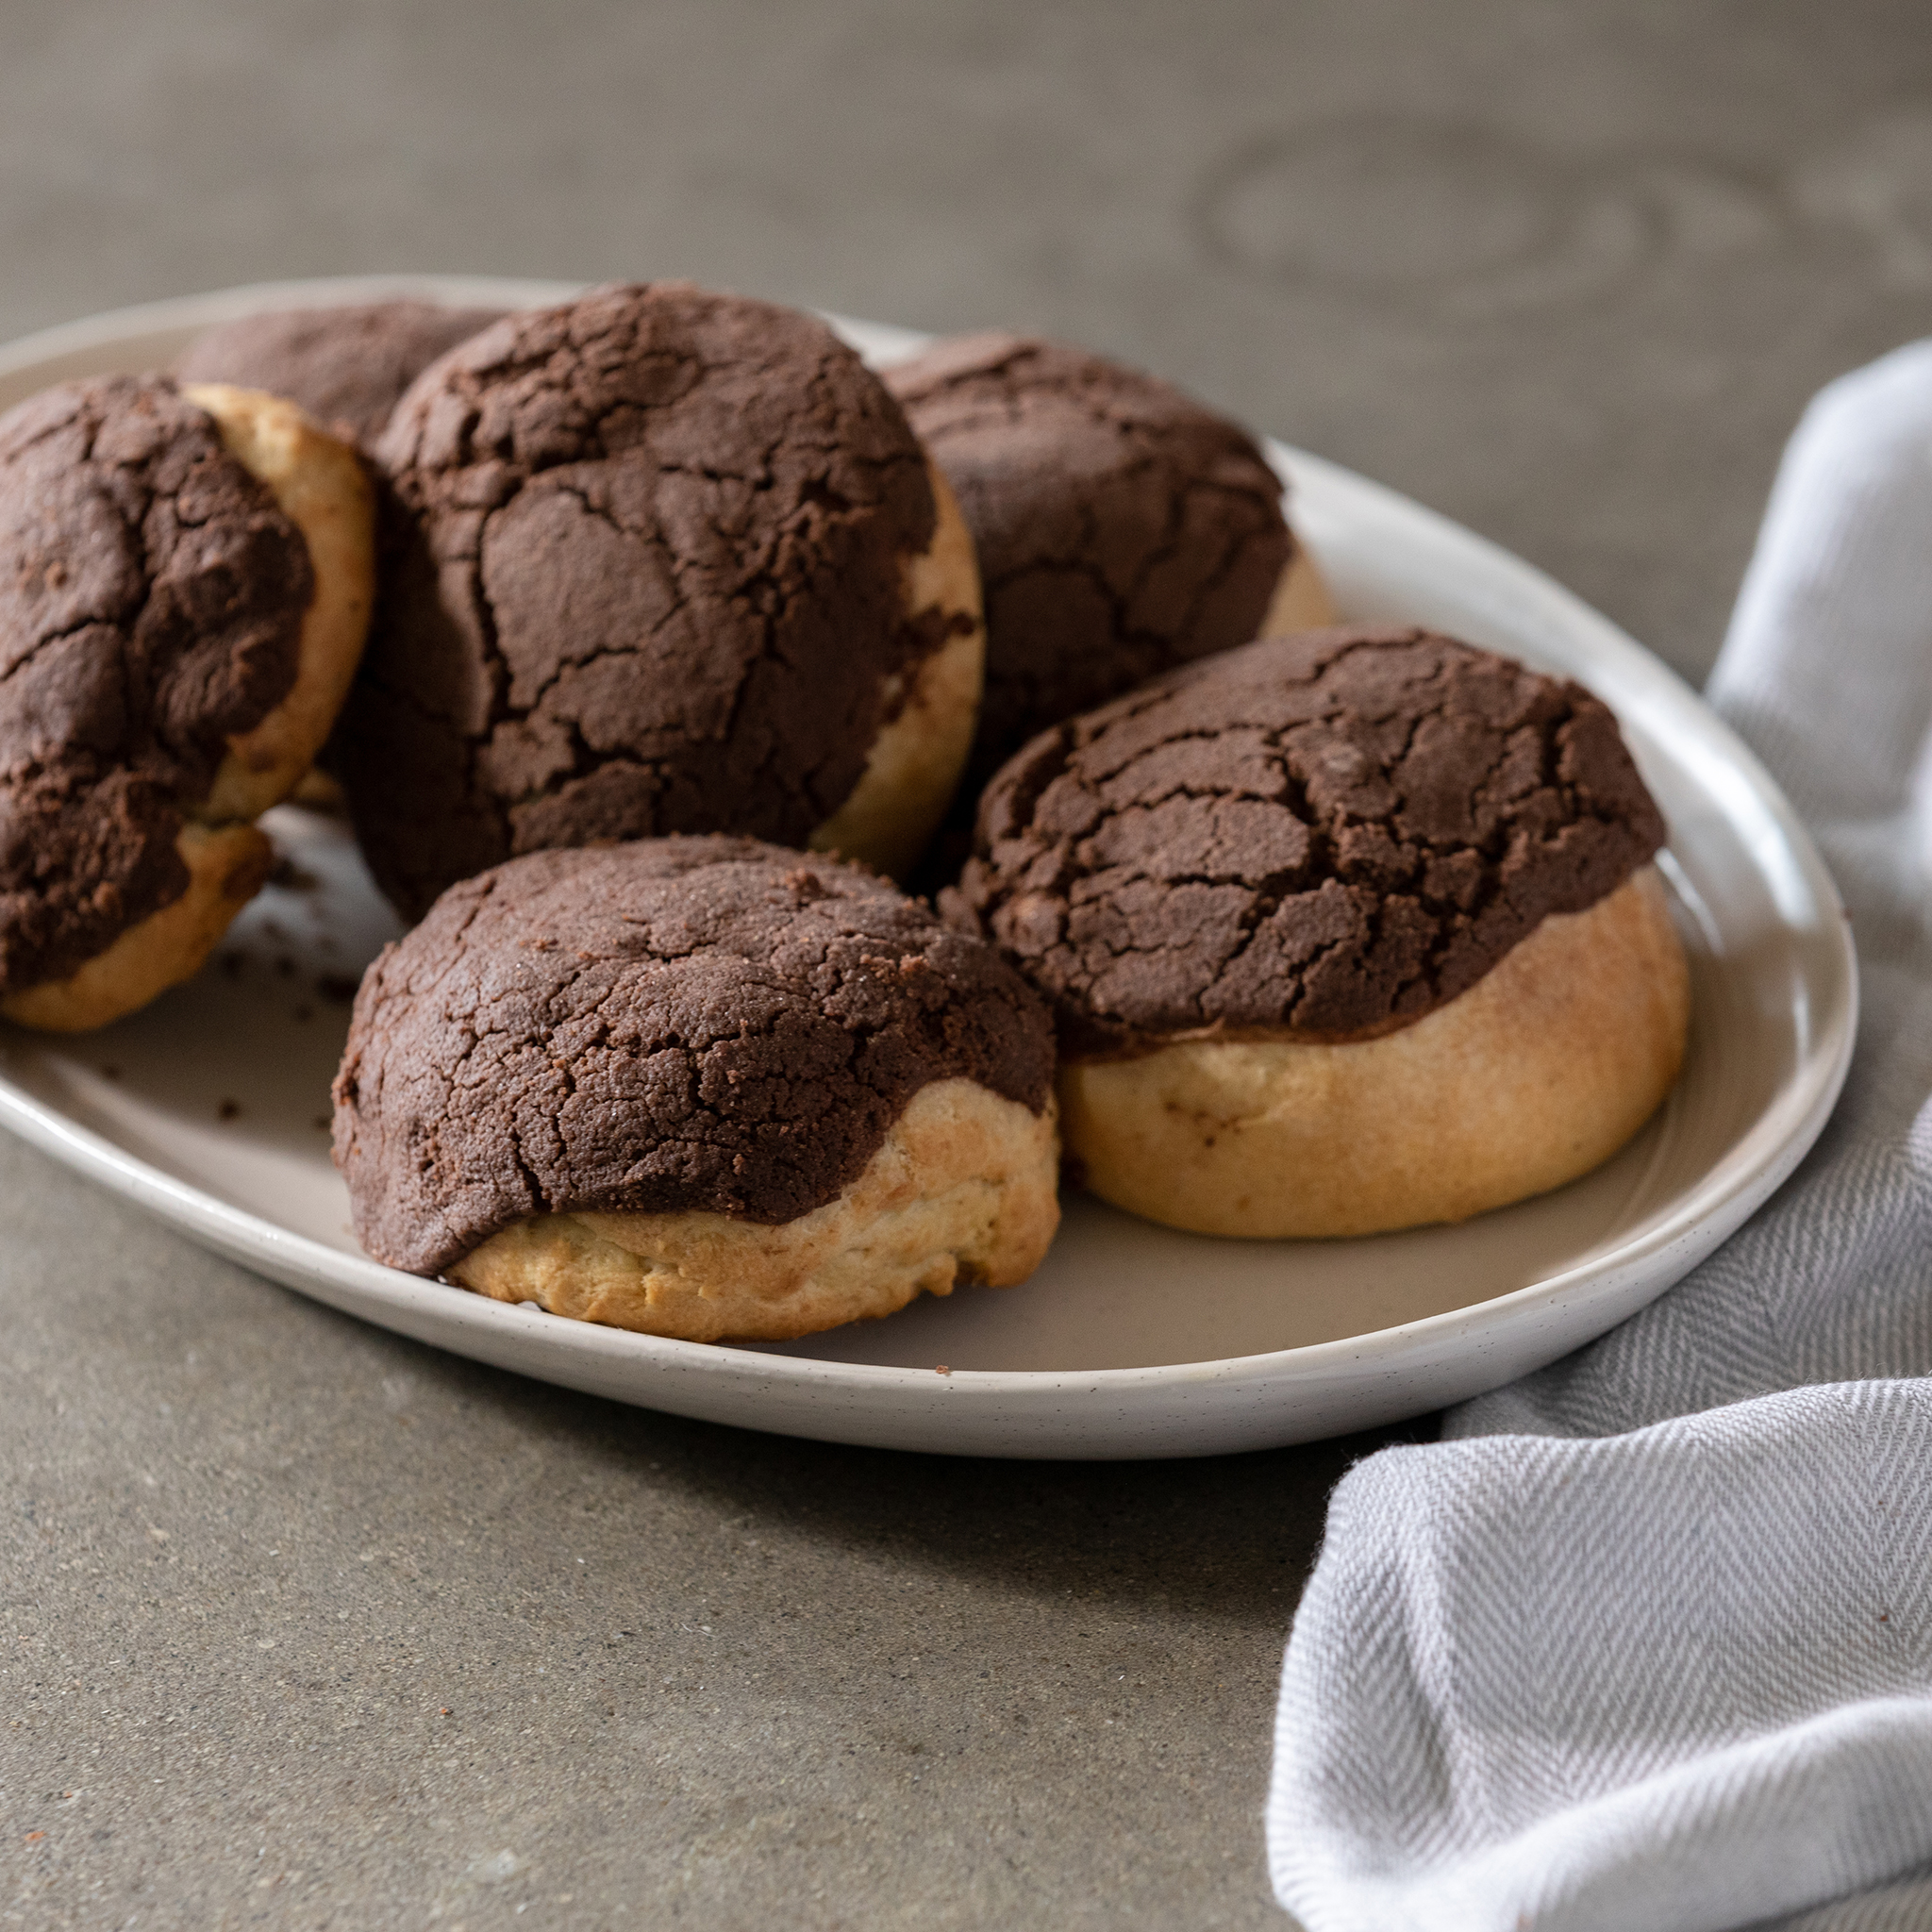
Pan Dulce: Chocolate Semitas (Semitas de Chocolate)
Total 17 hours and 45 minutes (includes fermenting time)
Active 45 mins
Makes 16 rolls
Ingredients
Dough
Topping
Sourdough Starter
Levain
Directions
- For the dough: Combine the flour, Levain, yolks, sugar, water, butter, and salt into a large mixing bowl. Mix by squeezing together with your hands or a wooden spoon until there is no dry flour left and everything is incorporated. Lightly flour your work surface and turn the dough out. Knead the dough until the outside becomes smooth and the dough feels strong, about 2 minutes.
- Place in a lightly oiled bowl, cover, and let ferment for 4 hours; the dough may look the same after this time, but inside there will be fermented goodness. Put the bowl in the fridge and let the dough ferment for another 12 hours.
- Take the dough out of the fridge and let it come to room temperature, about 1 hour. Divide the dough into 5 balls, each about 200 grams. Use your hands to fold the dough onto itself, creating a nice, smooth ball. With the dough firmly on a lightly floured surface, gently pull the ball toward you, creating tension in the dough and smoothness on the bottom. Place the balls on a parchment-lined sheet pan, spaced a couple of inches apart.
- For the topping: Combine the flour, coconut oil, sugar, and cocoa in a medium bowl until completely combined. The mixture should be sturdy enough to hold a shape. If your topping is too loose to shape, chill it for a few minutes so that the coconut oil hardens back up. Take a small piece (about 50 grams) and flatten into a disk that is big enough to cover one of the balls of dough, about 2 inches in diameter. Repeat to make 4 more disks. Place 1 disk on each dough ball.
- Place a covering -- like a large dish towel or plastic wrap -- over all the dough balls. Let proof at room temperature for 3 hours; the dough balls will be slightly larger, but they don’t puff as much as non-enriched dough. You can tell by poking the dough with your finger: It should bounce back slightly, but not all the way.
- When you are ready to bake, preheat the oven to 375°F. Bake until the rolls are golden brown and the chocolate topping is nicely cracked, 30 to 35 minutes.
- The rolls continue to cook while resting, so let these cool for 15 to 20 minutes before eating to make sure that they are cooked all the way through! I recommend dunking these in coffee or milk for the full experience.
- Sourdough Starter and Levain:
- For the sourdough starter -- Day One: Use a fork to mix 100 grams (1/2 cup) of rye flour and 100 grams (1/2 cup) of warm water in a glass mason jar or any type of container that has a lid. Cover and leave at room temperature for 24 hours
- Day Two: You will probably see some sort of activity depending on how warm your kitchen is. The smell may not be so pleasant. Reserve 100 grams (about 1/2 cup) of the mixture and discard the rest. Feed another 100 grams (1/2 cup) of rye flour and 100 grams (1/2 cup) of warm water to the original mixture and leave at room temperature for another 24 hours.
- Day Three: You may see the markings on the walls of the jar from a "rise and fall" of the new starter, along with nice bubbles and air pockets. This is good. The smell should be getting a bit more bearable. Repeat the process of Day Two.
- Day Four: There will definitely be a good volume increase and a consistent amount of bubbling and air pockets. There should be a somewhat sweet and sour smell that is pleasant. You're in the home stretch. Repeat Day Two one more time.
- Day Five: By this point, you should have a ripe and sweet-smelling sourdough starter. You should see some movement of the bubbles when you jostle the container and a structure when you stir it. You are now ready to build a levain.
- For the levain: Use a fork to mix the mature starter, bread flour, whole wheat flour, and warm water in a container, then let it rest at room temperature until the mixture is covered in bubbles and air pockets for 3 to 4 hours.